Fresco Restoration: The Techniques and Stages, Explained
How a fresco is restored: the stages of fresco restoration techniques, from diagnostics to pictorial reintegration, and the principle of minimal intervention.
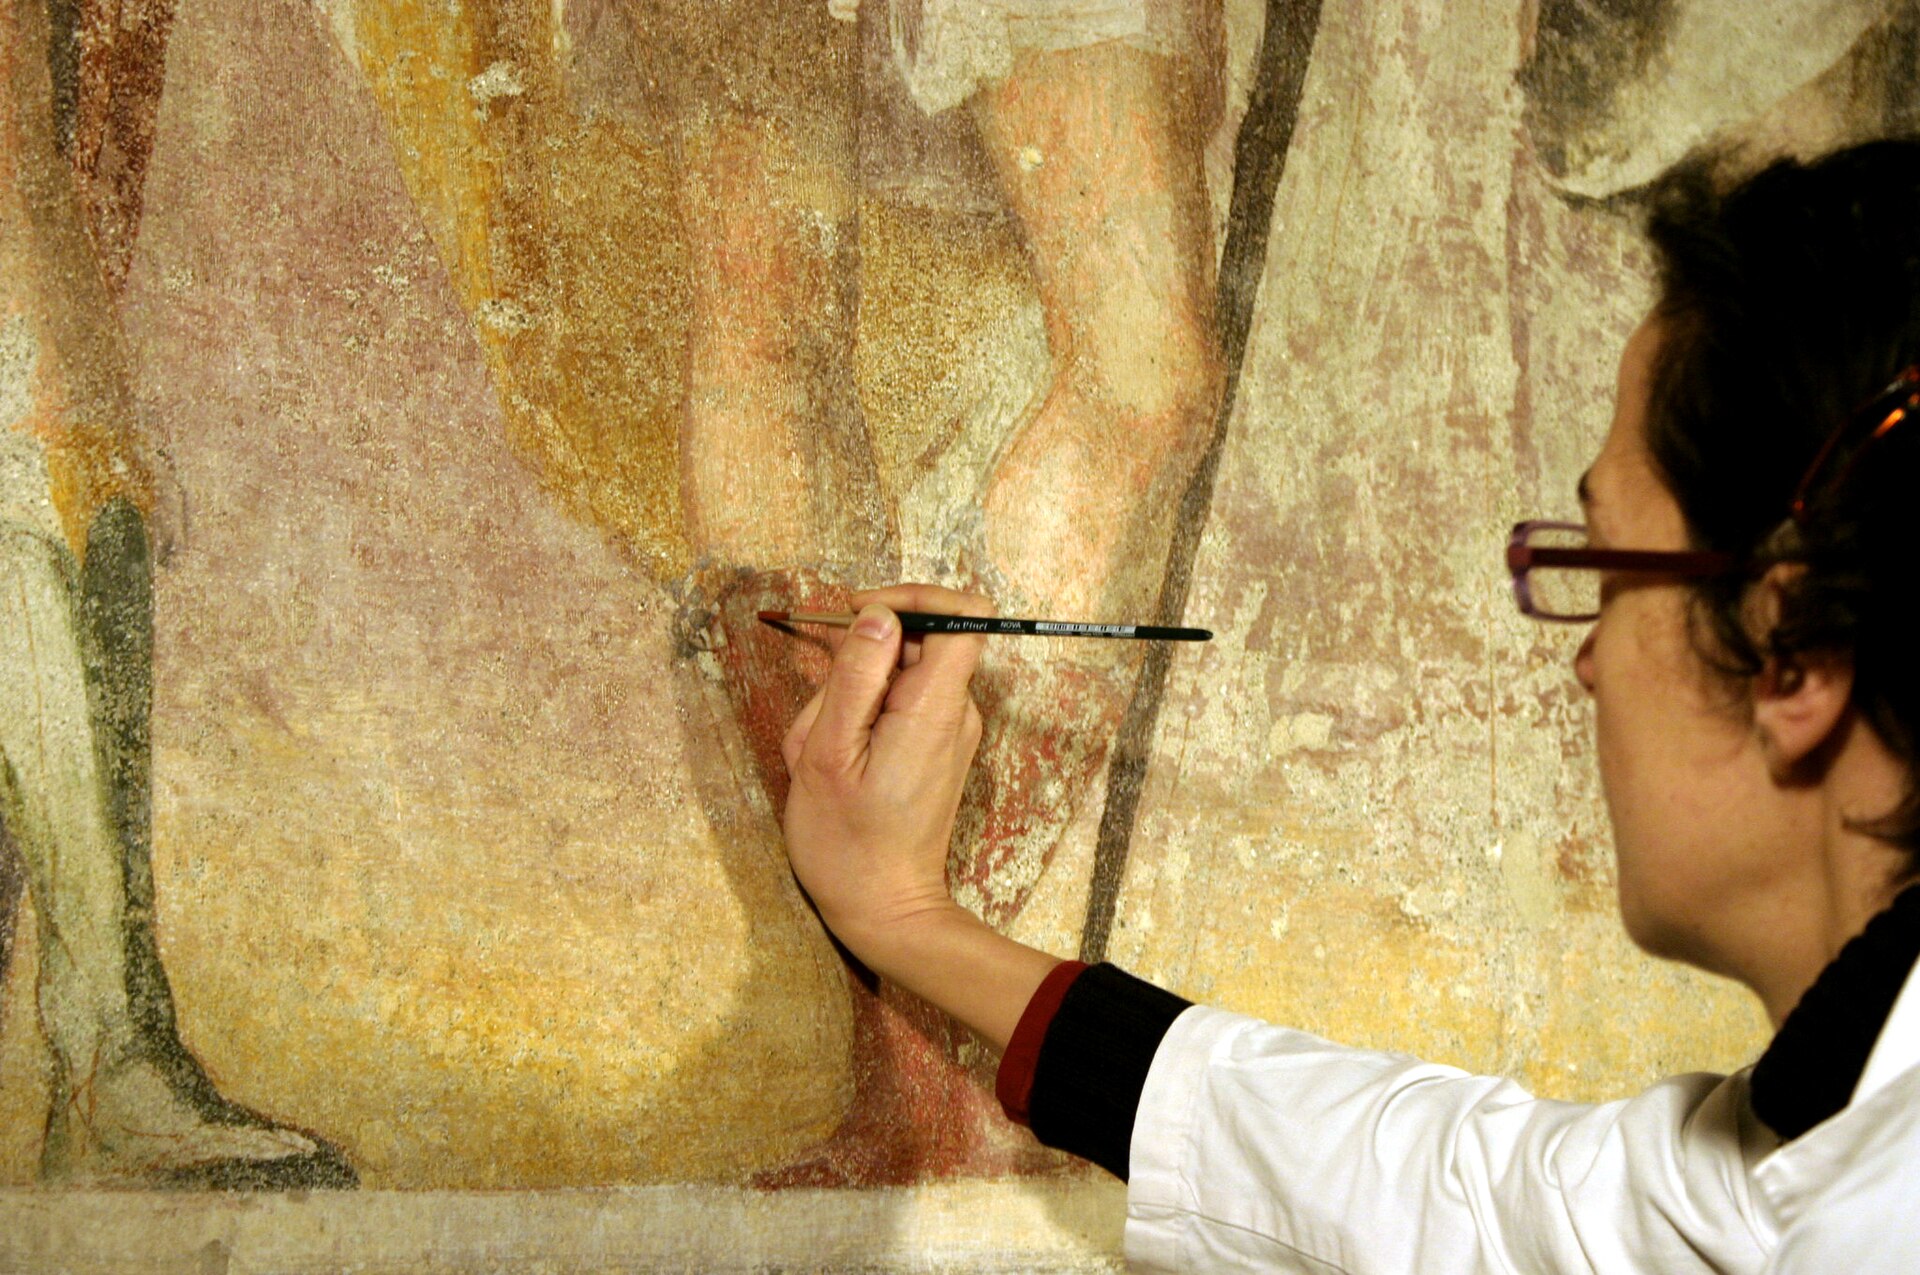
Restoration of a fresco represents a process of sequential steps, in order from knowing the original work to protecting it as much as possible (or fully) for future generations and never reinventing any aspect of what time has taken away. So, when does restoration begin on a fresco? The first step is the diagnostic study, followed by securing the paint layer most likely to fall off; cleaning the surface progressively; consolidating any loose plaster that may have come free; replacing missing portions of the painted surface using well-recognised methods; and finally applying a protective treatment. Each phase will include specific principles: minimal intervention; reversibility; legibility; and will be performed by a qualified conservator under supervision of the Soprintendenza. In this guide we demonstrate fresco restoration techniques used on a frescoed hall of a Venetian villa through examples and illustrations.
In brief
- Fresco restoration follows a set order of stages: first you understand, then you intervene.
- The key operations are diagnostics, pre-consolidation, cleaning, consolidation of the plaster, pictorial reintegration and protection.
- Losses are mended with recognisable, reversible techniques (rigatino, chromatic selection), never with invented repainting.
- The guiding principles are minimal intervention, reversibility, distinguishability and legibility.
- The work belongs to a qualified conservator, under the direction of the Soprintendenza.
What a fresco is (and why restoring it is delicate)
A real fresco is created using the technique of fresco; pigments are applied to wet (and drying) plaster so when it dries, the lime creates a crystalline layer that holds the pigment in place and becomes part of the structure. While this technique provides a long-lasting yet fragile product, there may be multiple points at which damage occurs: structural wall issues, deterioration of plaster layers and/or pigment film. Each point has its own form of deterioration or issue including separation, blistering or lifting from the surface, salt efflorescence on the surface, color degradation over time due to exposure, deposits and altered old repainting etc.
Therefore, the fresco restoration process cannot be an individual intervention; it is a series of well-planned and carefully coordinated actions. In addition to this, there exists a larger dialogue: that of conservative restoration, which protects the original materials rather than making new ones, and which can occur simultaneously with the restoration of the Venetian stucco work within the same room.
The stages of fresco restoration
Every serious project respects an order. Skipping a step — cleaning before consolidating, for example — means risking the loss of colour. The table below sums up the main stages.
| Stage | What it involves | Objective |
|---|---|---|
| Diagnostic investigation | Survey, mapping of the decay, analysis of plaster, pigments and salts; identifying the causes | Understand the work before touching it |
| Making secure and pre-consolidation | Emergency fixing of lifting flakes of colour and unstable plaster | Prevent material from falling |
| Cleaning | Gradual removal of deposits, soot, varnishes and altered repainting | Recover the legibility of the colours |
| Consolidation of the plaster | Injections of compatible mortars into voids; re-adhesion of the paint film | Re-anchor the detached layers |
| Pictorial reintegration | Treatment of losses with rigatino or chromatic selection; filling | Mend the image while remaining distinguishable |
| Final protection | Reversible protective products where needed; end-of-work documentation | Slow the decay and hand the work on |
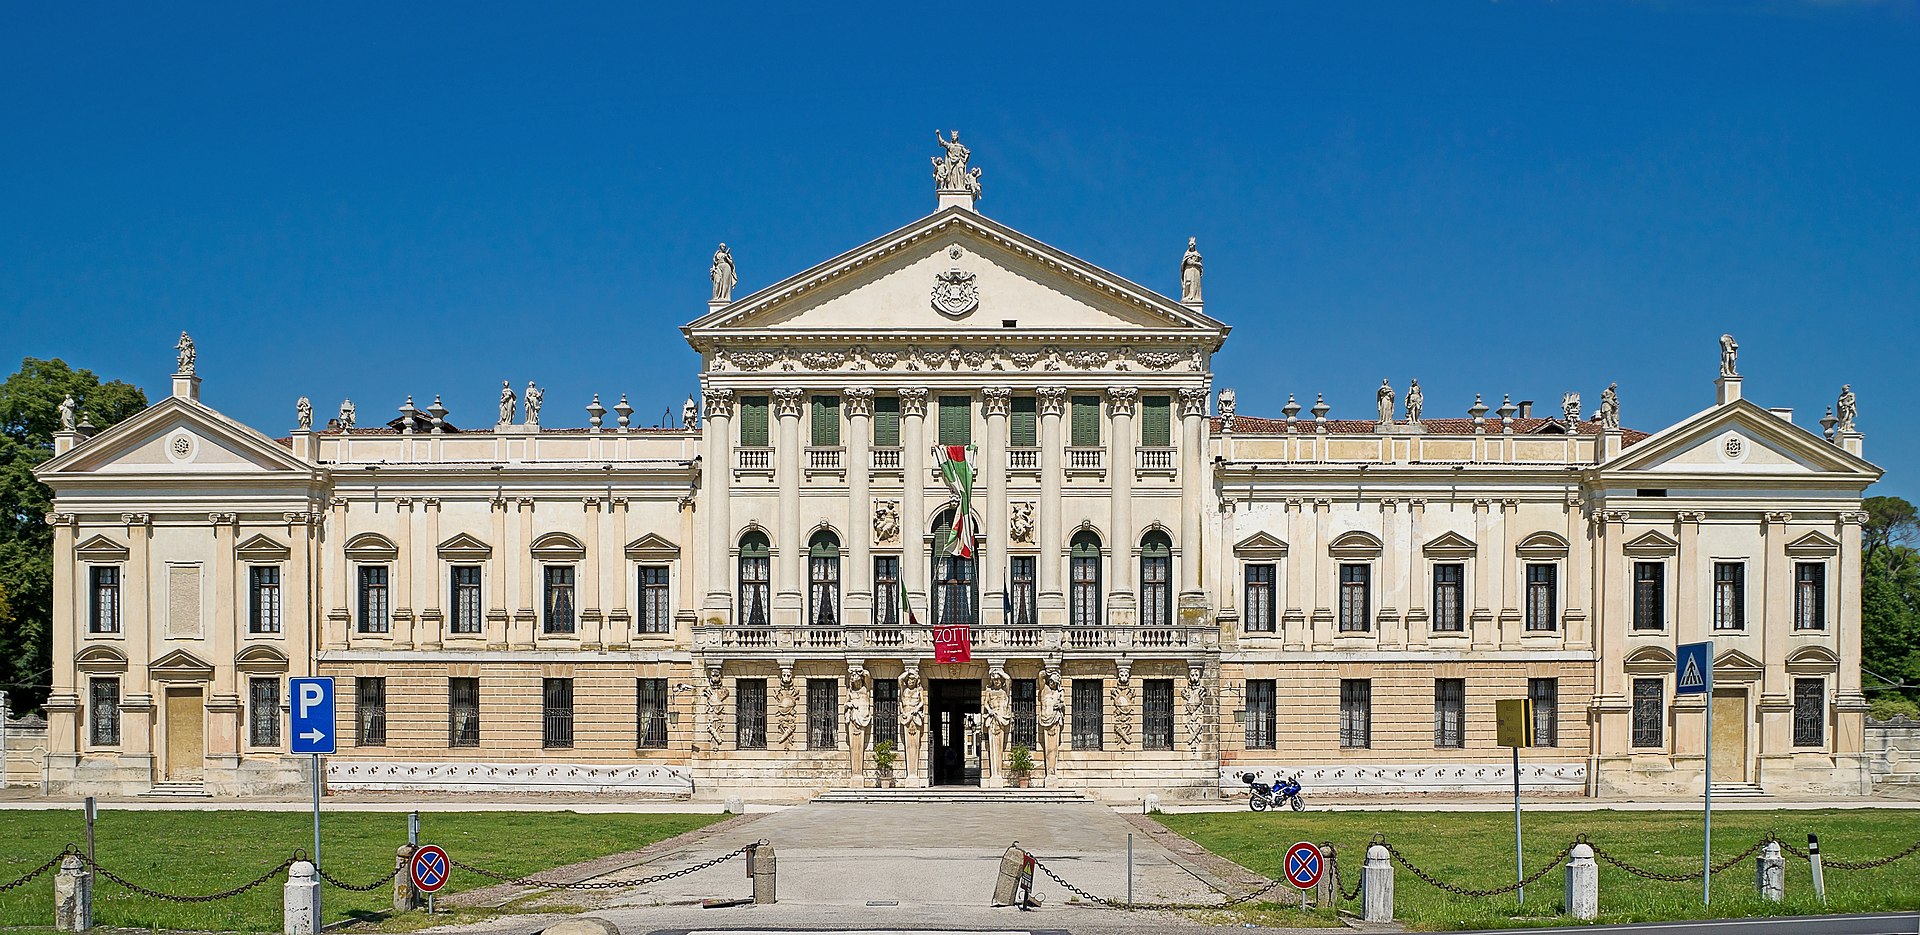
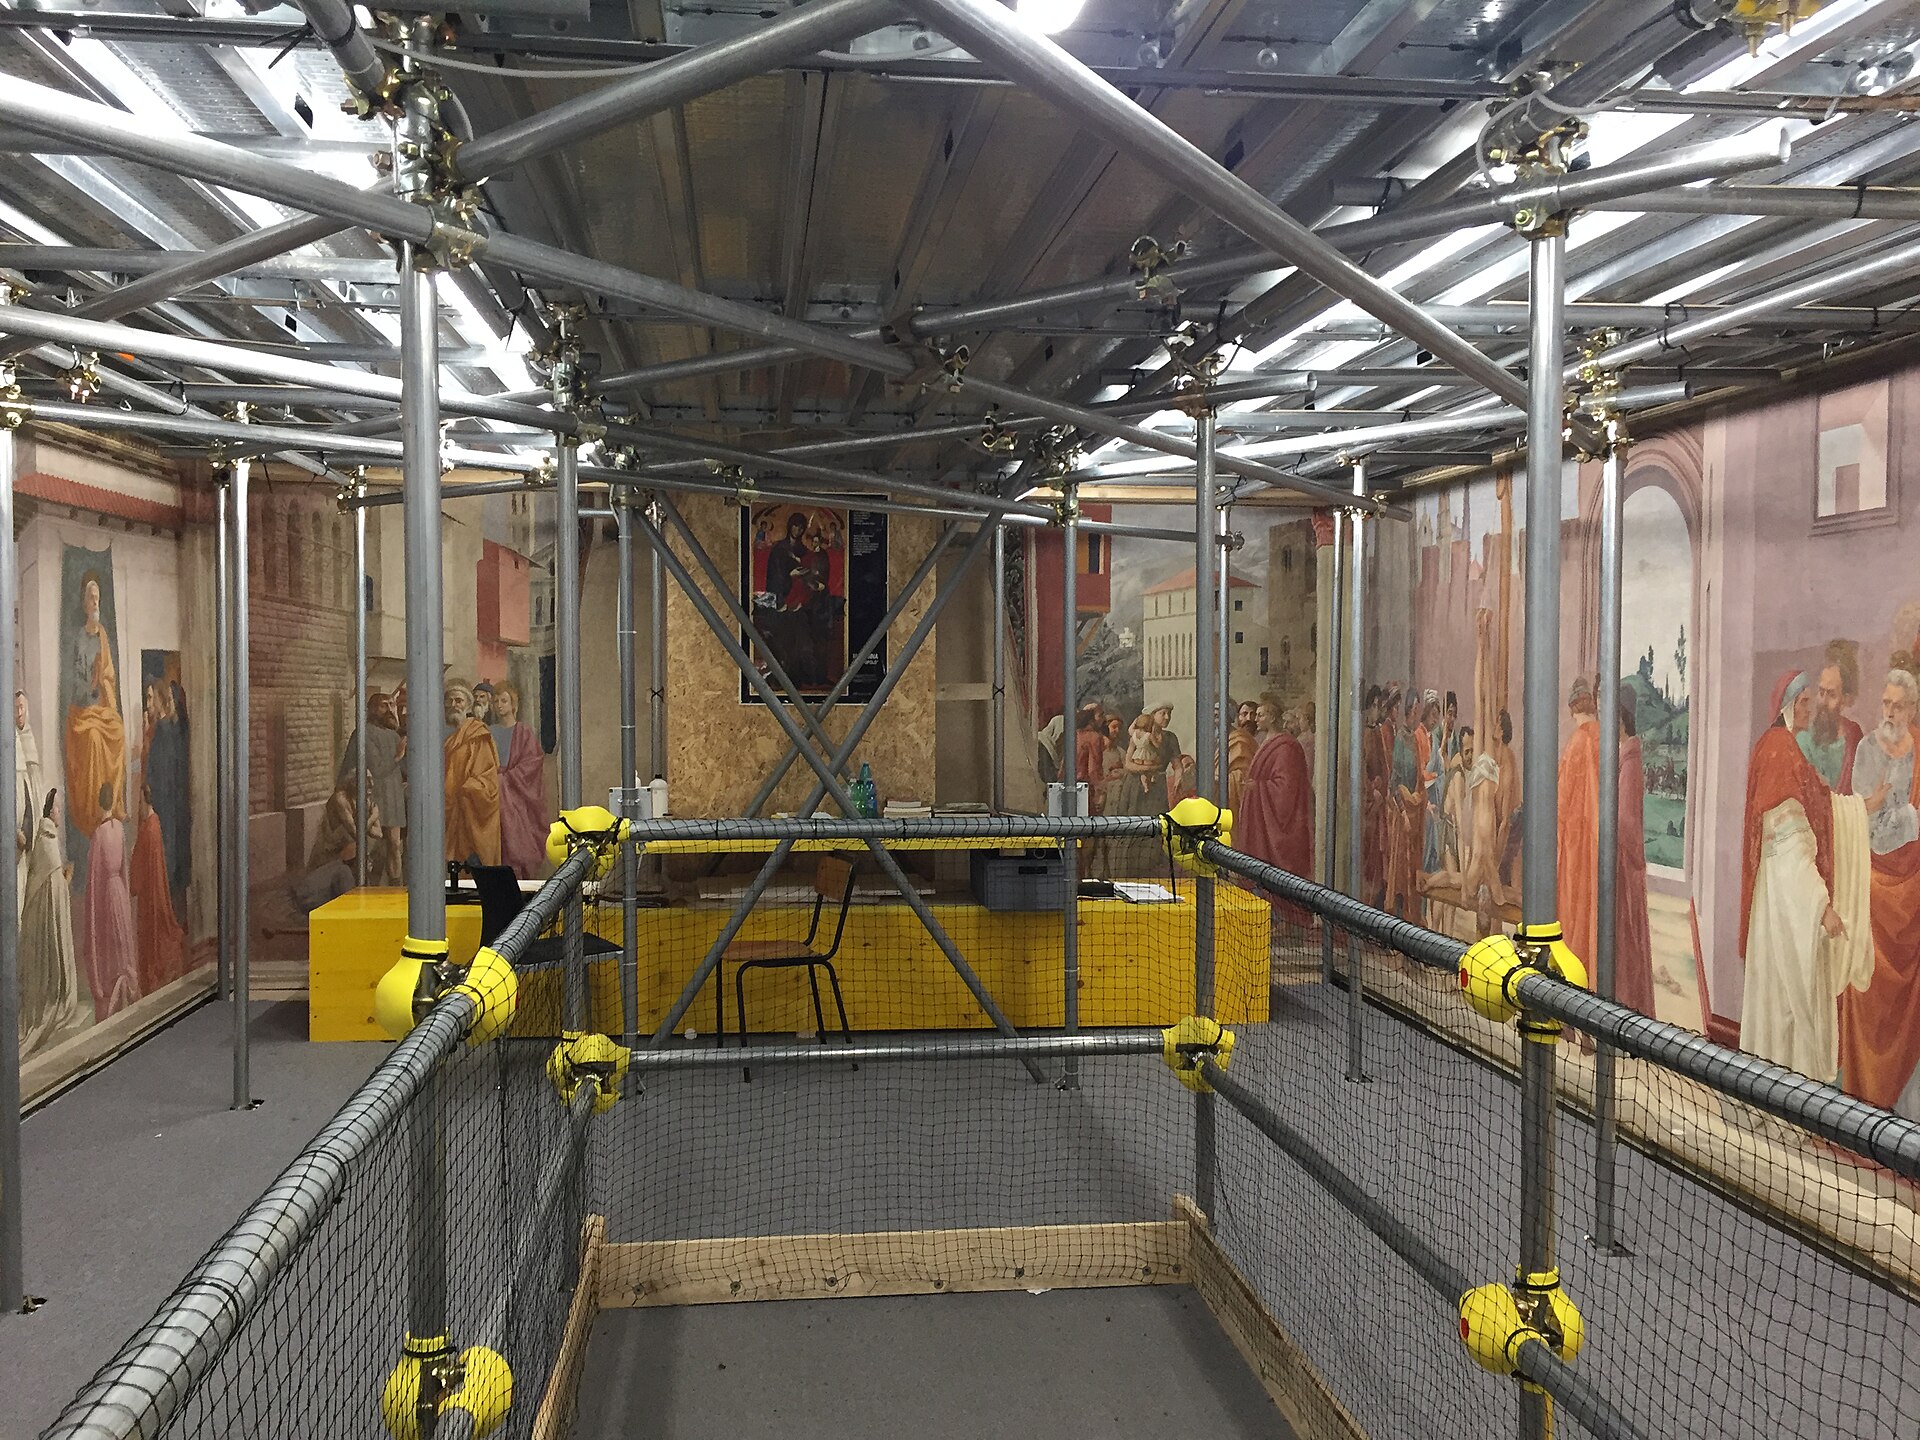 Photo: Nicola Quirico / Wikimedia Commons — CC BY-SA 4.0
Diagnostics and making secure
No intervention begins with a clean-up, it will be about to read your works : survey, mapping of the deterioration, sampling and laboratory analysis for identifying colors (pigments), water-soluble salts and repaint. The cause — rising dampness or seepage — is as important as indicating its consequences: if the reason isn't treated, there's no point in restoring because any treatment that follows would only provide temporary results. If paint film becomes peeling off or when you knock on the plaster and hear a hollow sound, that means the first-aid step of pre-consolidation is applied; unstable zones are temporarily secured by facing tissue and reversible adhesives, thus allowing continued treatments while protecting fragments of origin.
Cleaning and consolidation
The cleaning phase is the most delicate of all. Deposits, soot and oxidized varnish are removed as well as any repaint coats; however, this removal occurs on a step-by-step basis through test areas to identify which cleaning method(s) (dry, with aqueous solutions, with poultices) will be effective for each area based upon how it responds to the different cleaning agents: foreign material only is removed from the original surface. Once the restoration work has been cleaned, re-attachment of detached layers takes place through injection of compatible fluid lime-based mortars that have similar properties to those used historically, into the created voids. Cement is prohibited because it becomes too hard and contains excessive amounts of salts.
Pictorial reintegration and protection
Colour lost can never be regained, however through reintegration all the damage that was caused by the loss can be repaired in such a way as to make it visible for what it is. The technique of repair will use codified methods of either using rigatino (hatching) which consists of small, fine parallel vertical lines or chromatic selection, selecting colours that are suitable for reintegration; depending on how far away you are from the wall, these elements will create a visual representation of the original painting, yet upon closer inspection each element will appear different from its original counterpart. Depending on requirements missing plaster may need to be replaced with mortar at or just below the surface level. Additionally, should any additional treatments be necessary due to environmental factors etc., a protective coating made up of reversible products may then be applied and finally, when completed, a written report detailing all work performed during this process will have been prepared; therefore completion of this project is based upon documentation not simply with the final coat of paint applied.
The principles that guide every intervention
Techniques change from work to work; the principles do not. They are the foundation of the contemporary culture of restoration, codified from the theory of Cesare Brandi onward and adopted by the heritage authorities:
- Minimal intervention: only what is needed for conservation is done, nothing more.
- Reversibility: added materials must be removable without damaging the original.
- Distinguishability: restoration must neither imitate nor falsify; it must remain recognisable.
- Compatibility: the materials used must be compatible with the historic ones.
Who carries out the restoration (and under what oversight)
Restoration of frescoes is an activity reserved for a qualified conservator of cultural heritage, a recognized professional figure with specific competencies to work directly on the surface; it cannot be replaced by a common building contractor. On a listed asset, the intervention is always conducted under the supervision of the Soprintendenza and, as such, the project must receive prior authorization (Article 21 of Legislative Decree no. 42/2004), as well as a director of works will oversee every phase of construction. In this way diagnostics, conservator, and authorities collaborate: it is precisely this trilateral relationship that distinguishes restoration from remake.
The example of the hall at Villa Loredan
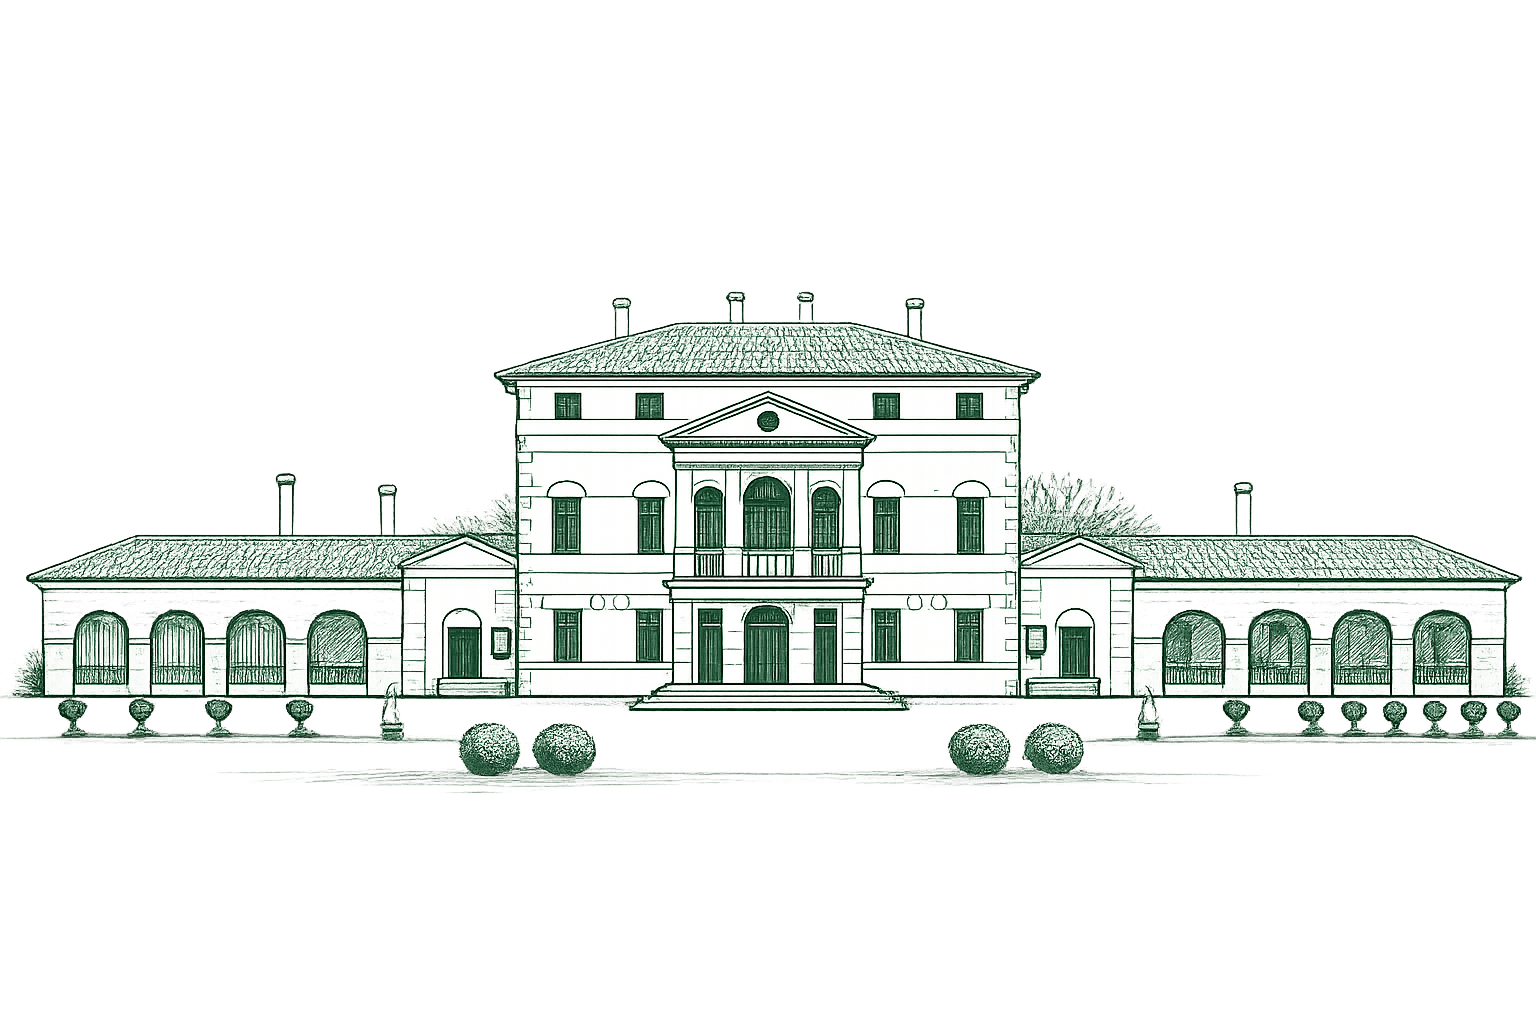
The Fresco Hall of Villa Loredan Valier Perocco di Meduna located in Vascon di Carbonera (Treviso) represents a model example for the application of this methodological approach to a decorated historical surface: first the analysis and mapping of the deterioration, secondly the pre-consolidation treatments for the unstable areas, thirdly the gradual cleaning, fourthly the consolidation treatment on the plaster and fifthly - only when documented and necessary - pictorial reintegration in rigatino. A restoration must know how to read the stratifications the history of the villa tells of; such type of interventions are also facilitated by specialized tools that have been illustrated in detail in the guide to the Art Bonus for the Ville Venete.
FAQ
How is a fresco restored? By following stages in order: diagnostic investigation, making secure and pre-consolidation of the paint film, gradual cleaning, consolidation of the detached plaster, pictorial reintegration of the losses with recognisable techniques (rigatino, chromatic selection) and a final protective treatment. Every step is documented and reversible.
What is rigatino in fresco restoration? Rigatino, or hatching, is a technique of pictorial reintegration: losses are recomposed with fine parallel vertical lines. From a distance the image appears mended, but up close the intervention remains distinguishable from the original, in keeping with the principle of legibility.
Who may restore a listed fresco? Only a qualified conservator of cultural heritage, under the direction of the Soprintendenza. On a protected asset, every intervention requires the prior authorisation set out in the Cultural Heritage Code (art. 21 of Legislative Decree 42/2004).
In summary
You do not restore a fresco by touching up; you have to be willing to go on a journey to learn about the work from diagnostic analysis, make sure it's safe, slowly clean it, consolidate the plaster and repair any damage caused using reversible techniques that are recognizable as such. The three main rules (minimal intervention, reversibility, distinguishability) guide your way along this journey, which also provides for two important protections: the presence of a qualified conservator and supervision by the Soprintendenza. It is in these ways that a frescoed hall can be passed down to future generations - as was done with Villa Loredan. To read more, explore the other guides in the Journal.
Sources: Istituto Centrale per il Restauro (ICR), Ministero della Cultura, Istituto Regionale per le Ville Venete (IRVV). Techniques and authorisation procedures may vary according to the state of conservation of the work: every intervention should be assessed by a qualified conservator and agreed with the competent Soprintendenza.
Would you like to see the Villa in person?
The Villa is a private residence. Visits and receptions in Vascon di Carbonera are arranged by appointment only.
Make an enquiry →